


Before laying the tunnel waterproof layer, the headroom of the initial support surface is measured every 3m, and if there are defects, it should be dealt with to meet the design thickness requirements of lining concrete. Before the waterproofing layer of the tunnel waterproof plate is laid, the surface leakage of the initial support is inspected, and the treatment requirements are as follows:
(1) The initial support surface should be flat, without hollows, cracks, and crisps, and the base surface should be leveled with sprayed concrete (or mortar).
(2) The protruding parts such as the rebar mesh, grouting pipe head, and anchor rod should be cut off, covered or riveted first, and then leveled with mortar or sprayed concrete.
(3) The flatness of the initial support surface should meet the requirements.
(4) When there is strand-shaped water gushing on the base surface, it is advisable to use local grouting and interception grouting methods to seal, and the remaining water after blocking can be concentrated in the drainage ditch in the tunnel to be discharged by the blind drainage pipe or drainage plate.
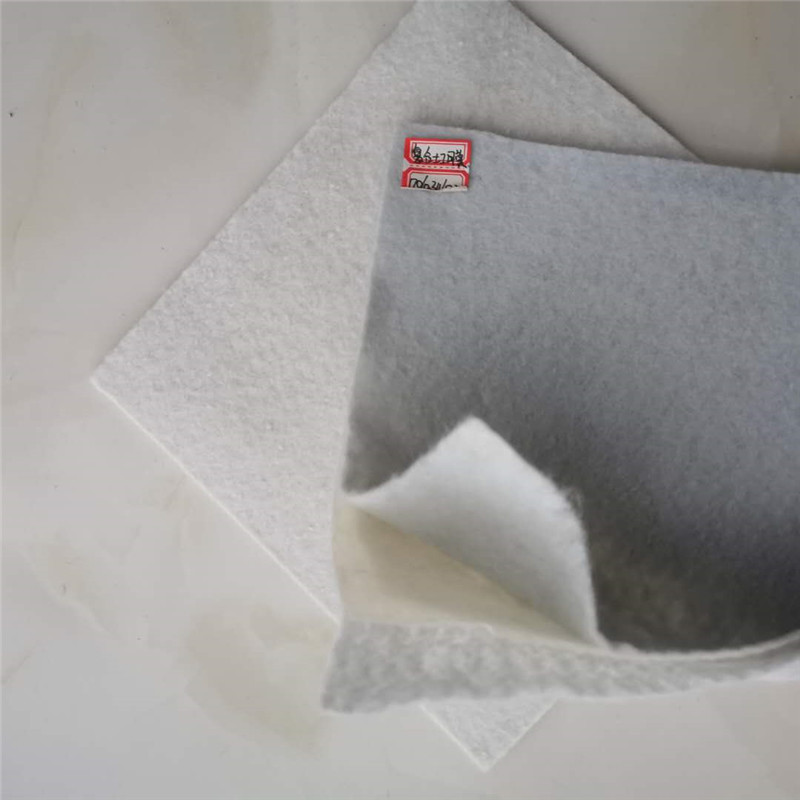
When laying the geotextile, first use the work table to fix the single geotextile to the predetermined position, and then combine it with hot melt washers, metal washers, and nails (material specifications: hot melt washer diameter 70mm, thickness 5~6mm, metal washer diameter 20mm, thickness 2mm, nail length 25~30mm). When fixing the geotextile, it is fixed by the upper and lower cycles, and the lap width of the geotextile is not less than 50mm. The geotextile is closely adhered to the surface of the sprayed silicon, and the laying should be smooth, without bulges and wrinkles.
The thermoplastic gasket and buffer layer are fixed to the base surface using nail snatching operations. The paving fixed points are arranged according to the plum blossom shape, with a spacing of 0.5~0.8m between arches and 0.8~1.0m of side walls. After installation, check whether the hot melt gasket is intact and determine whether it can meet the installation requirements of the waterproofing board.
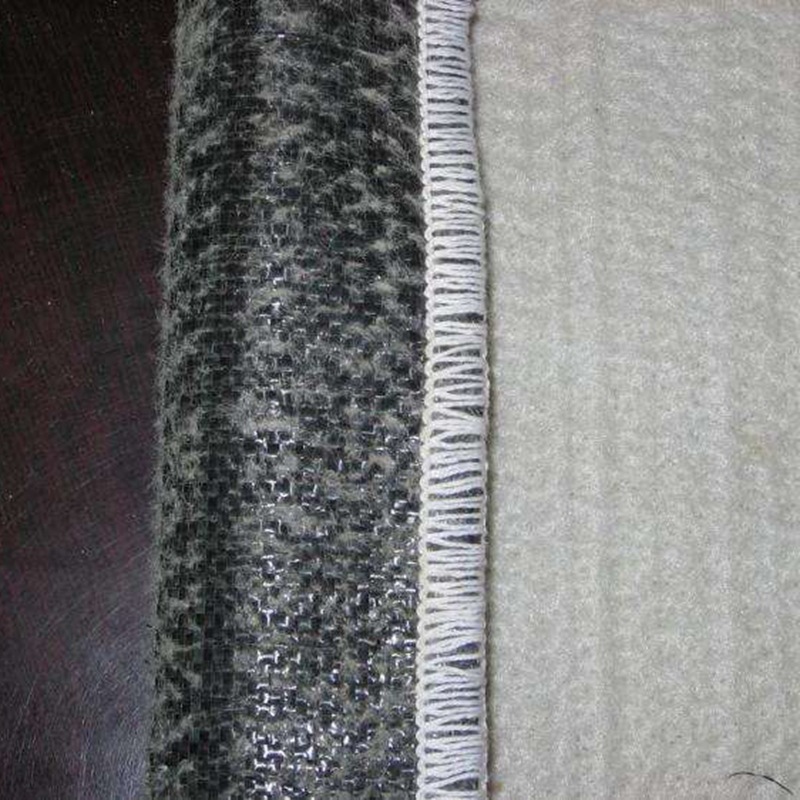
Lay the waterproofing board, use the work platform to fix the waterproofing plate from the tunnel arch to both sides to the predetermined position, and then use a manual electric hot fusion pressure welder to heat it, by the upper and lower circulation hot melt fixed, the electric heat fusion pressure welding heat is slow at the beginning, and the heating is normal after half an hour, and the pressure welding takes 3~5 minutes for each hot melt gasket, and the suitable temperature of the hot melt head of the pressure welder is between 300~400 °C. A thermal insulation cloth cushion is used between the manual electric heat fusion pressure welder and the flashing board to prevent damage to the waterproofing plate when heated. Make the flashing welded to a special hot melt gasket that holds the geotextile.
If the waterproofing board is found to be damaged, it must be repaired from time to time. First take a small piece of waterproofing board and cut it into a rounded corner, the distance between the edge of the patch and the broken edge should not be less than 7cm, remove the dust on the two waterproofing boards, put it on the damaged place, and then use a manual electric melter to fuse it.